RESOURCES
Button restoration made so easy – you can do it yourself!
Patented Technology. Lifetime Warranty.
Do-It-Yourself
Save hundreds, even thousands of dollars by replacing your peeling, scratched, faded and worn buttons on your car radio, window switch, steering wheel, AC controls and more.
For just a fraction of the cost, you can “LOVE” your car again by bringing luxury back to your cars’ interior.
The Same Replacement Process as Major Dealerships
The AutoButtonRepair.com products and repair processes are being used by all your major automotive groups (Dealerships) in your local area. We participate in the used car certification program with all major brands like Mercedes Benz and BMW.
Patented Technology. Lifetime Warranty.
Frequently Asked Questions
No, only a few basic items are needed for proper installation. See tools needed under the Resources area.
No, this a self-adhesive graphic, not a button. Contact us for additional information or questions.
No, with some simple tools and a little time you can do the button restoration yourself. Just watch the instructional video and or read the (How To Install) area under Resourses.
By following our easy installation video/instructions, the repair takes less than 15 minutes to perform.
Yes, it comes with a Lifetime warranty on any product defects.
Fill out the contact form in the Contact us area. We are always in continuous product development
Yes, best results are achieved on dry warm days. See Tips and Tricks.
Yes, it has the same look and feel of the factory button.
Yes, fill out the form on the Contact Us page and we will reply as soon as possible. Usually within one business day. Please provide detailed information.
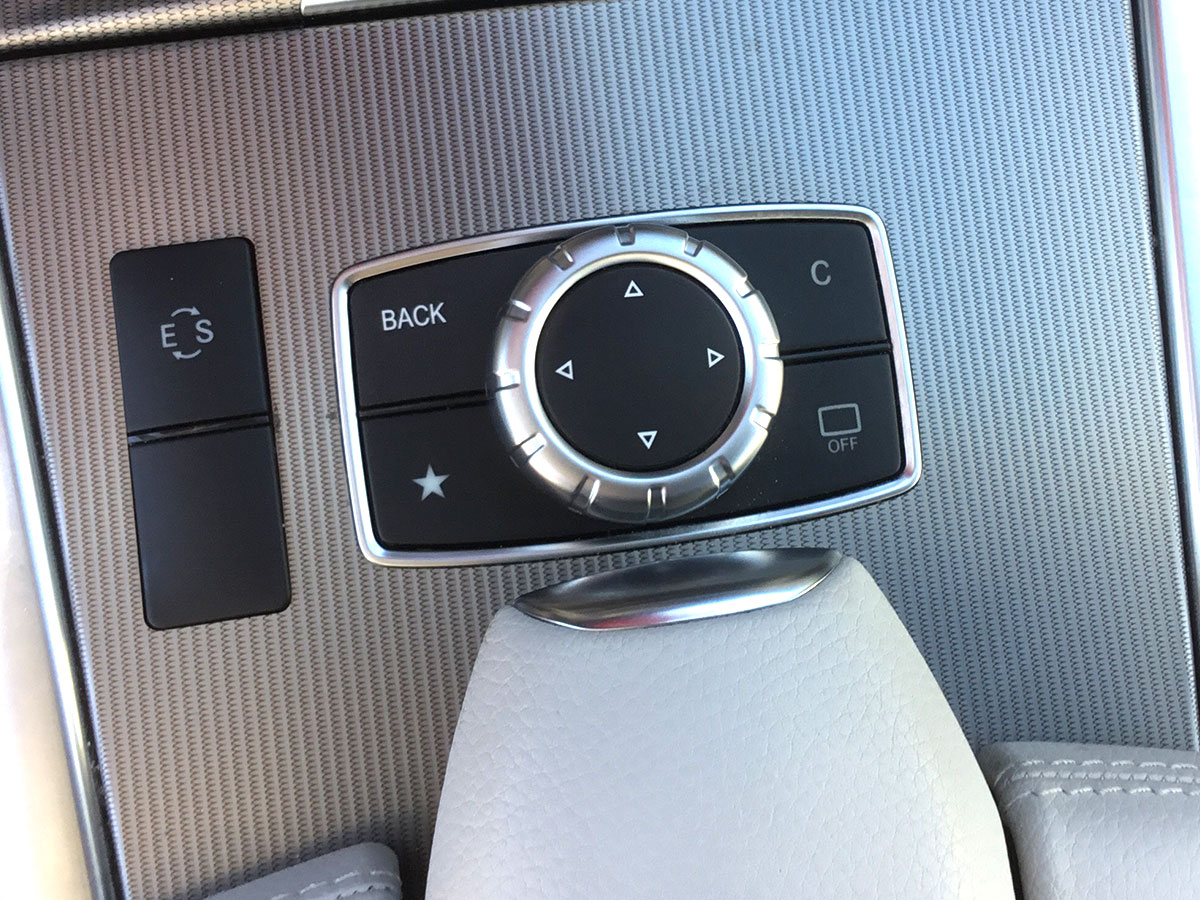
TIPS AND TRICKS
On cold days, using a low voltage heat gun will assist you greatly. Simply heat the button being repaired and the graphic right before final installation. This will allow the graphic to set up easier.
We recommend a new exacto blade for your repair. This allows for precise edging/cuts along the borders of the button being repaired. The repair comes out more precise, providing a cleaner end result.
Using a marker, mark the border edges of the button being repaired to stop any light penetration on the very edges of the button.
When installing the new graphic, using tape allows you to lift and precisely menuver and install the graphic with ease.
Tools Needed:
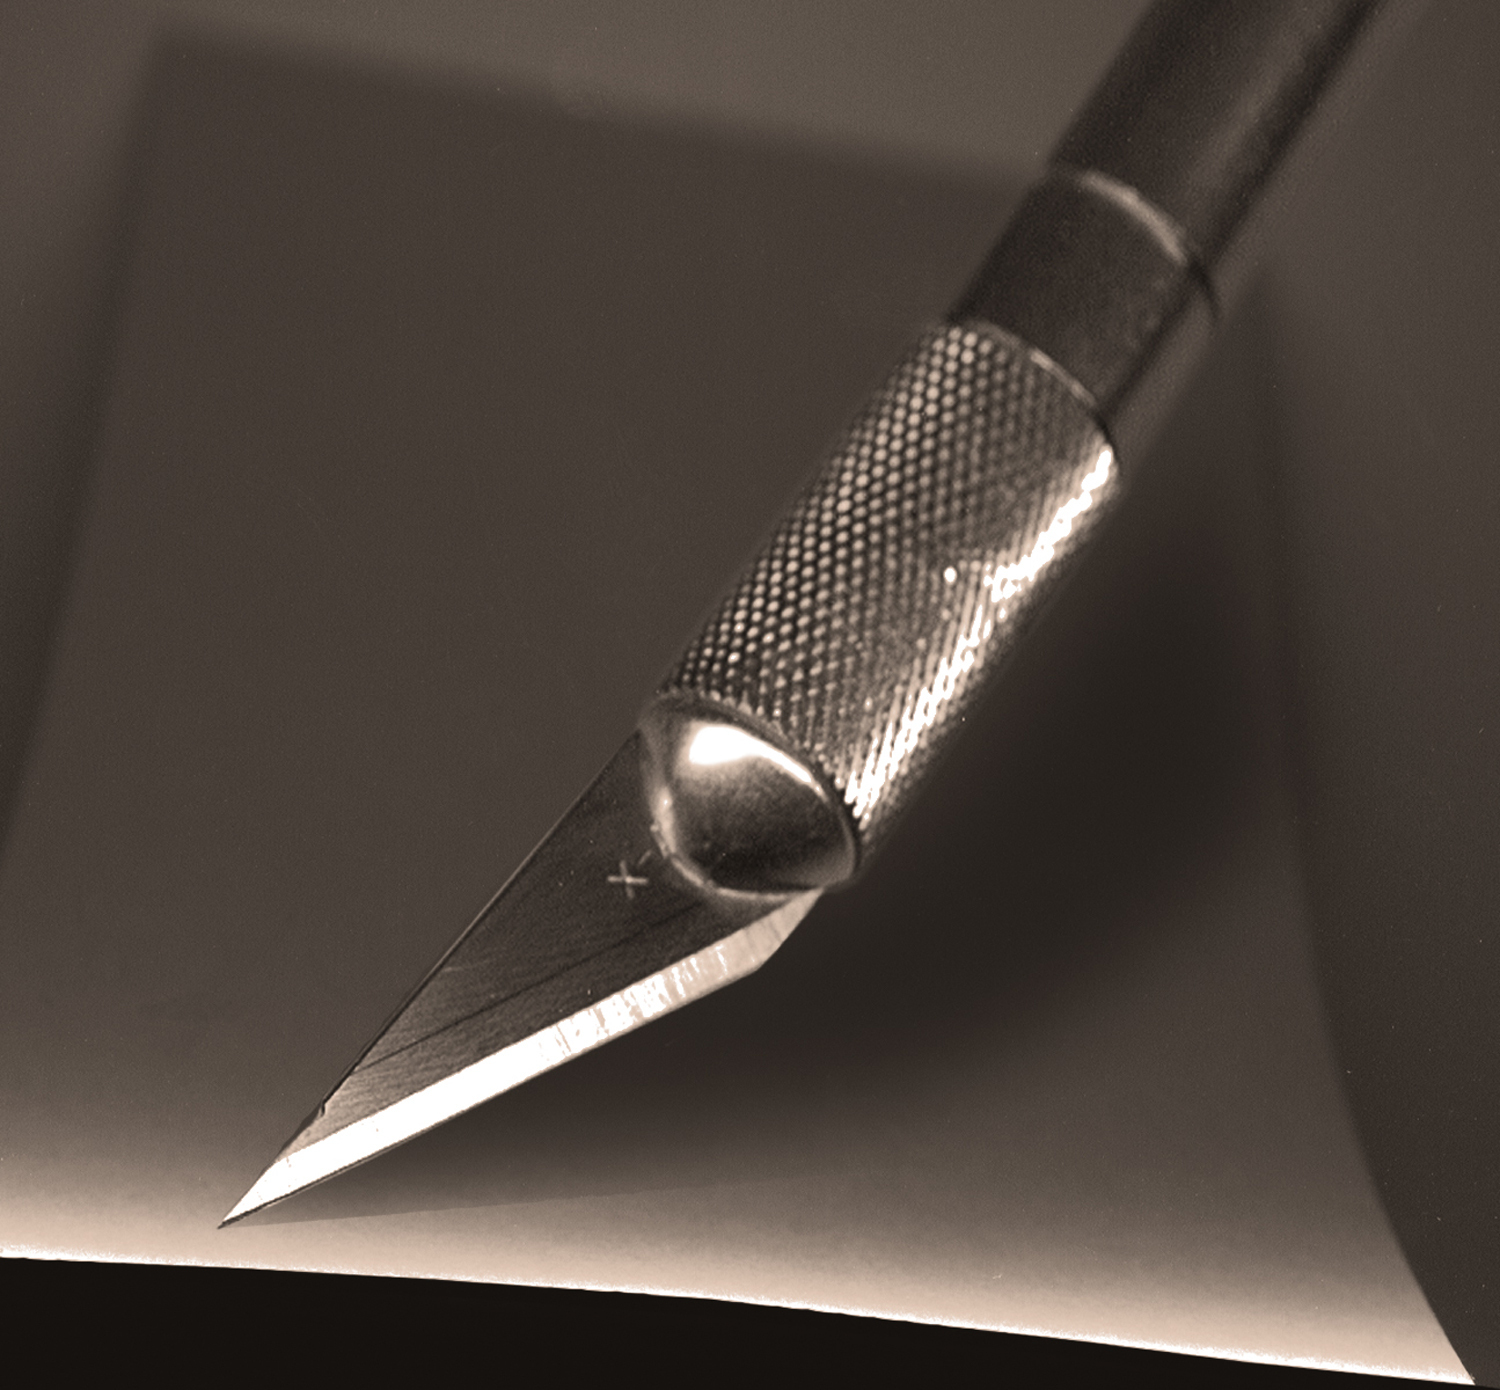
Exacto Knife
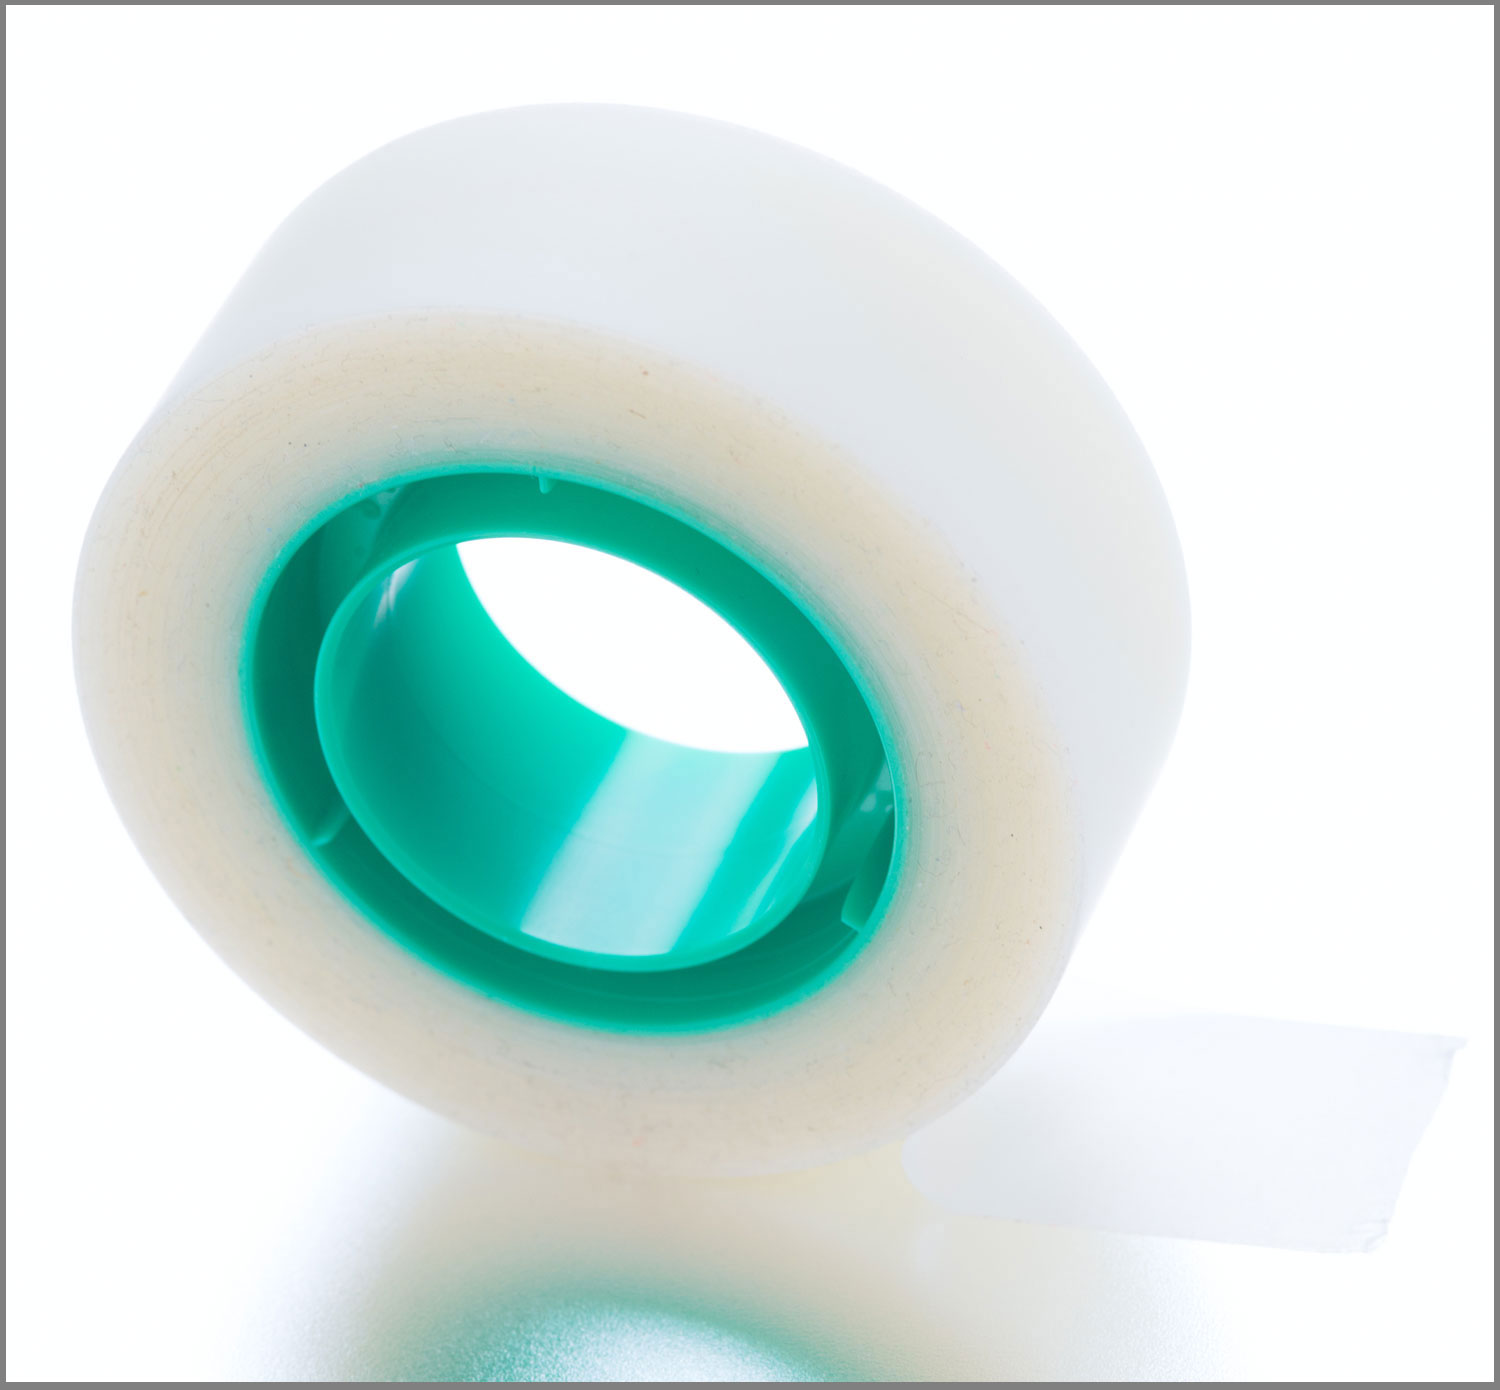
1/2 inch tape, to remove and install graphic
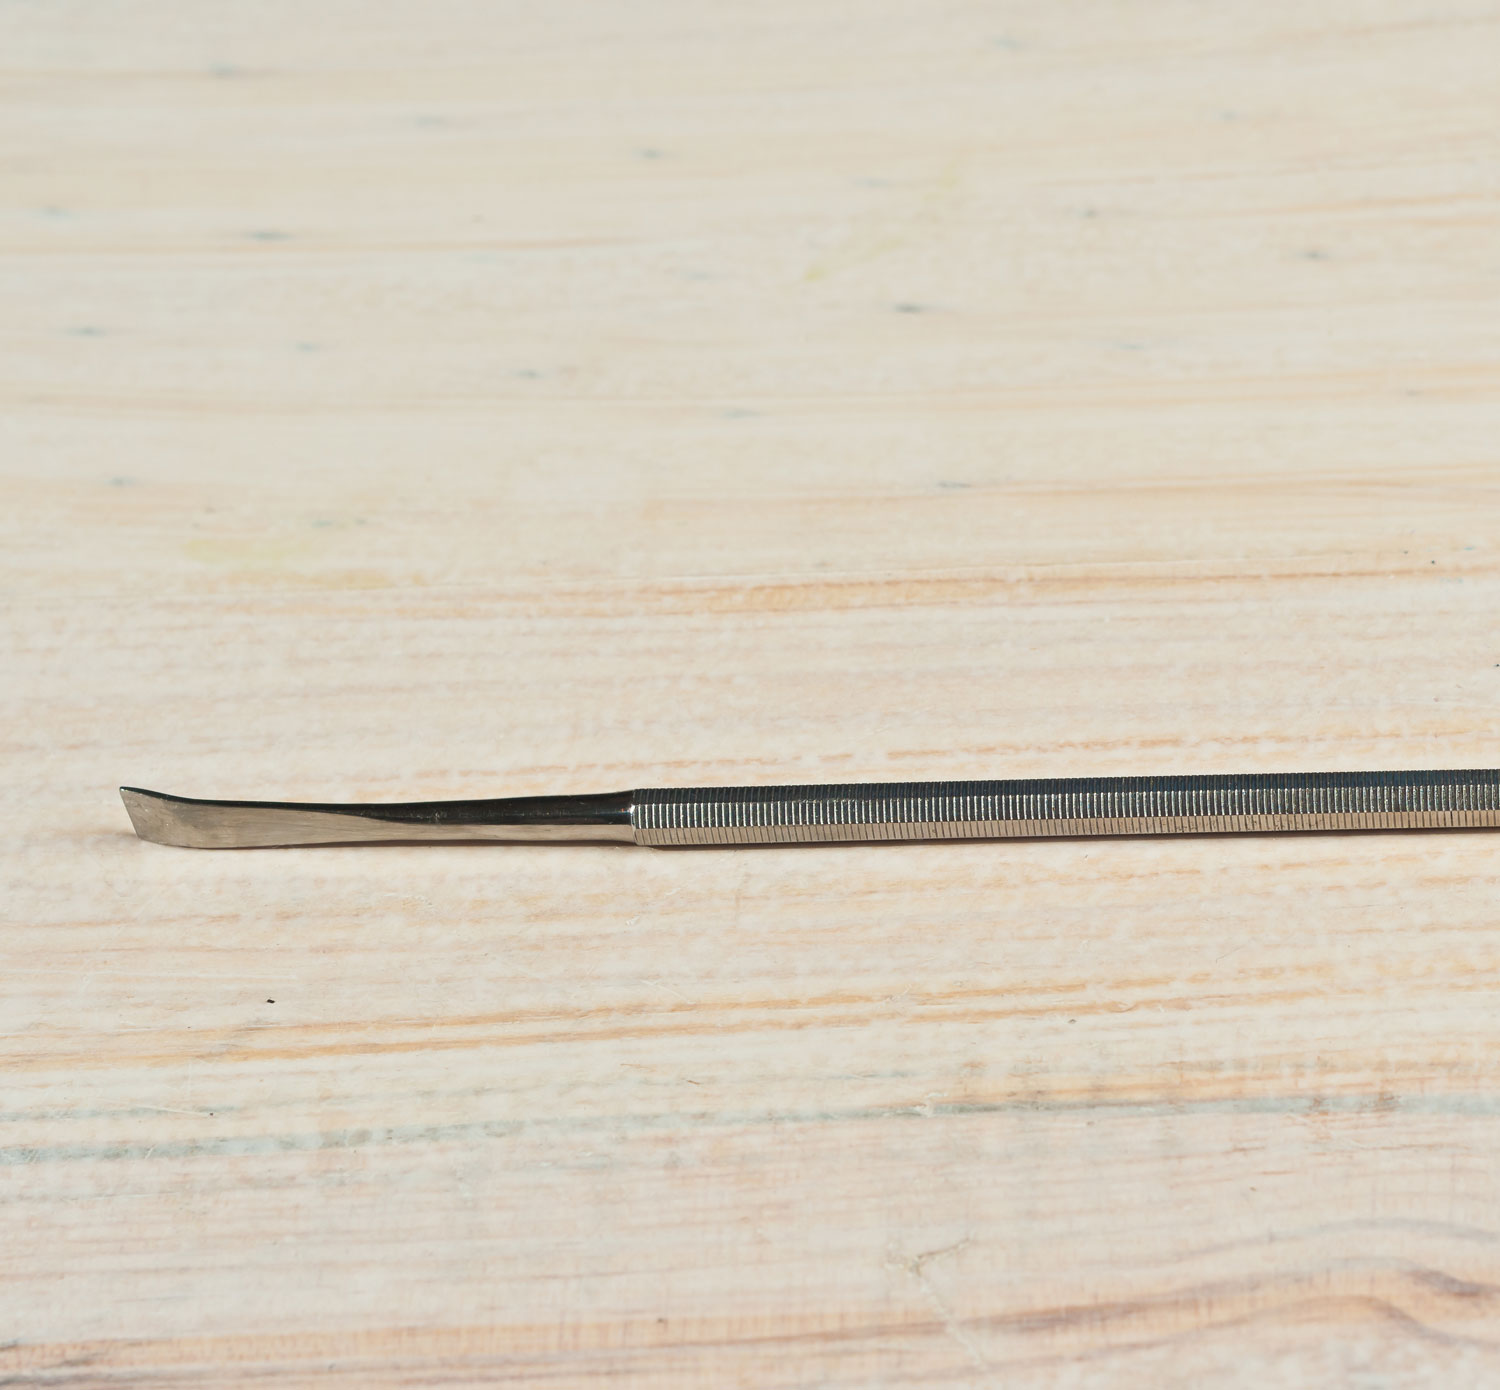
Scraper
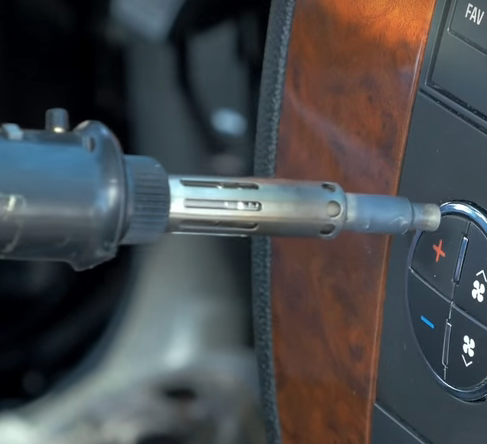
Heat gun (needed on some repairs)
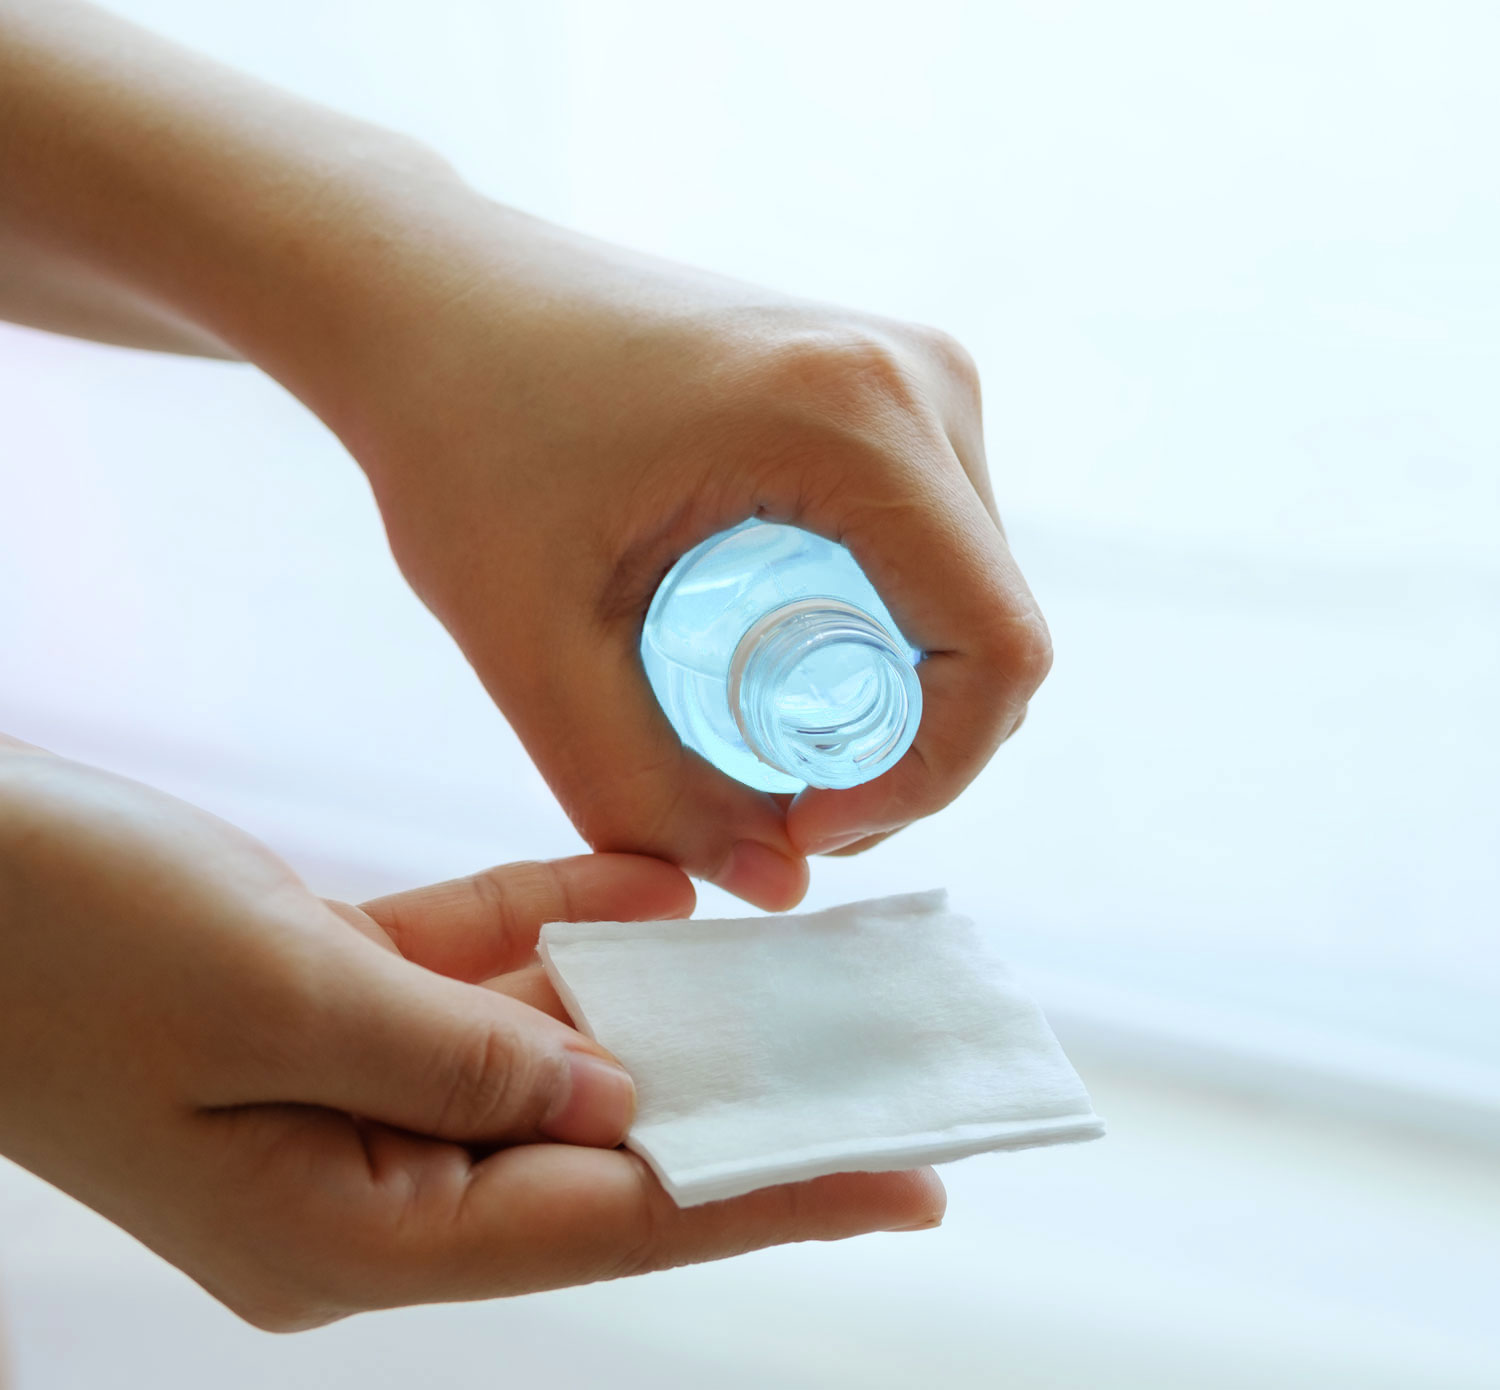
Lint free rag with alcohol
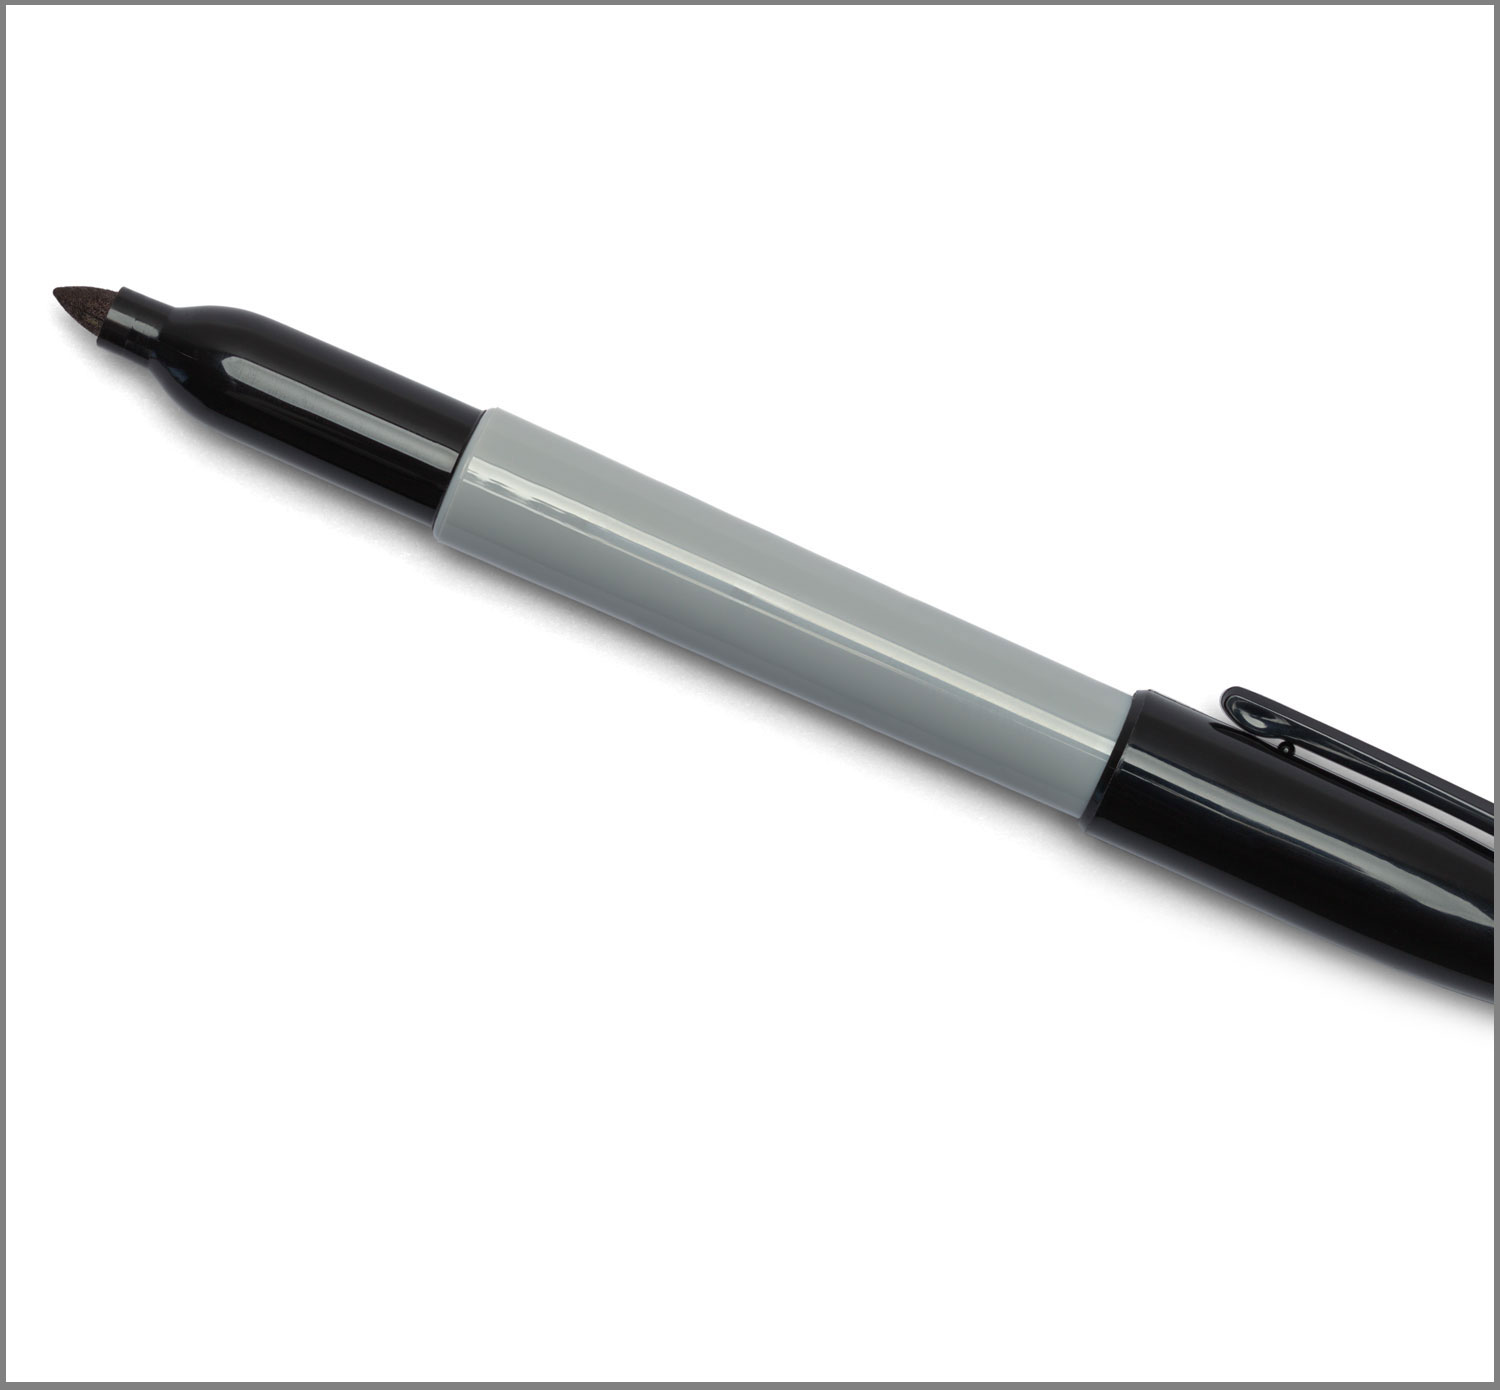
Marker
Repair Steps:

1. Edge border with blade
Using a new exacto blade, run it along all 4 edges of the button. This allows for precise edging/cuts along the borders of the button being repaired. The repair comes out more precise, providing a cleaner end result.

2. Scrape Clean
With a scraper, lightly remove the outer layer(black coating) of button. Until/so only the white of the button is showing.

3. Wipe clean with alcohol
Put a small amount of alcohol on a clean lint-free cloth. Wipe the button clean of any residues.

4. Edge border with marker
Using a black or permanent marker, mark all the border edges of the button being repaired. This will prevent any light penetration on the very edges from showing.

5. Align/install graphic
When installing the new graphic, using tape allows you to lift and precisely maneuver the graphic with ease. A fine spray mist of water/soapy water on the back of the graphic will allow you to make fit adjustments before final set of the graphic.
